How to Replace My Windows Easily and Efficiently?
Are you looking to replace my windows? This task can seem daunting. However, with the right approach, it’s manageable. Windows can significantly impact your home’s energy efficiency and aesthetic. A well-executed window replacement can help reduce energy bills and enhance comfort.
The process starts with understanding your needs. Choosing the right materials and style is crucial. Homeowners often struggle with selecting the best options. This can lead to confusion about what suits their home. Careful research and planning can mitigate these issues.
Professional guidance can be invaluable. Seek experts who offer insights tailored to your specific situation. Their experience can make a difference in ensuring quality replacements. A reliable source of information can help streamline the process. Remember, it’s okay to reflect on your choices. Mistakes may arise, but learning from them is part of the journey. Ultimately, aim to enhance your living space while being mindful of the challenges.

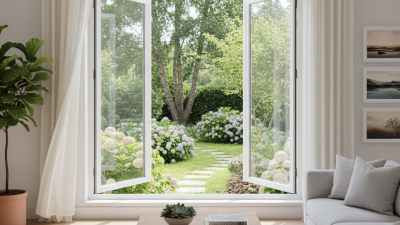
Choosing the Right Windows for Your Home Replacement Needs
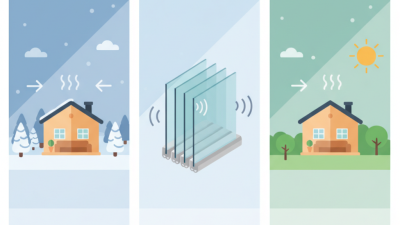
Choosing the right windows for your home replacement needs is crucial for enhancing both aesthetics and energy efficiency. According to the U.S. Department of Energy, about 30% of heating and cooling energy is lost through inefficient windows. Upgrading can significantly reduce energy bills. Look for windows with a good energy rating to ensure maximum insulation.
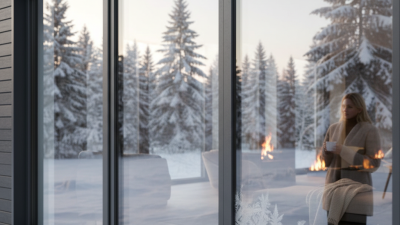
When selecting windows, consider climate and location. For colder regions, triple-pane windows may be ideal, offering better insulation. In warmer areas, low-emissivity (Low-E) coatings can minimize heat gain. These choices can lead to savings of up to 15% on energy costs annually.
Tip: Always consult a professional before making your final decision. They can help assess your home’s unique needs. Also, take your time. Choosing the perfect design and material can prevent regrets later on. Consider the long-term effects on your home’s value. Remember, a hasty choice now may lead to costly replacements down the road. Choose wisely.
Preparing Your Home for the Window Replacement Process
Preparing your home for window replacement requires careful planning. Start by clearing the area around the windows. Move any furniture, decorations, or window treatments. This makes the installation process smoother and faster. It also helps protect your belongings from dust and debris.
Next, consider the weather. Choose a time when conditions are mild. Extreme temperatures can affect materials and installation. If you live in a noisy neighborhood, try to schedule work during quiet hours. This can ease the discomfort of the work being done.
It's also wise to communicate with your contractor. Discuss timelines and specific needs. Ask questions if you feel uncertain. You might need to adjust your daily routine during the installation. This can lead to unexpected frustrations. Being well-prepared can minimize surprises and enhance your experience.
How to Replace My Windows Easily and Efficiently? - Preparing Your Home for the Window Replacement Process
| Task |
Description |
Estimated Time |
Tips |
| Clear Pathways |
Remove furniture and obstacles near windows. |
1-2 hours |
Use a designated space for storing valuables. |
| Measure Windows |
Accurately measure the dimensions of all windows. |
2-3 hours |
Double-check measurements for accuracy. |
| Choose Window Style |
Select window designs that fit your aesthetic and needs. |
1-3 days |
Consider energy efficiency ratings. |
| Order Windows |
Place an order with your chosen supplier. |
1 day |
Request a timeline for delivery. |
| Prepare for Installation |
Ensure all access points are clear for installers. |
1 hour |
Communicate with your installers about any concerns. |
| Inspect Installation |
Review final work and check for proper seal. |
1 hour |
Document any issues to resolve with the installer. |
Step-by-Step Guide to Removing Old Windows Safely
Removing old windows can seem daunting, but it doesn’t have to be. Begin by preparing the workspace. Clear any furniture or obstructions around the windows. Use plastic sheeting to protect floors and catch debris. A utility knife will help you cut through paint or caulk holding the window in place. Be ready for some hard work, especially if the windows have been there for years.
Next, carefully remove the trim around the window. Use a pry bar to avoid damaging the surrounding wall. Take your time with this step. Rushed actions can lead to splintered wood. Once the trim is off, you can access the window frame. Try to push the window out. If it doesn't budge, check for screws or nails. It’s essential to be patient here. Not every window will come out easily. This is part of the process.
As you remove the window, be cautious of sharp edges. Wear gloves to protect your hands. After the window is out, clean the opening thoroughly. This is an overlooked step. Dust and debris can affect the installation of new windows. Reflect on the process so far. Each removal should teach you something new for next time. The experience can be rewarding if approached methodically.
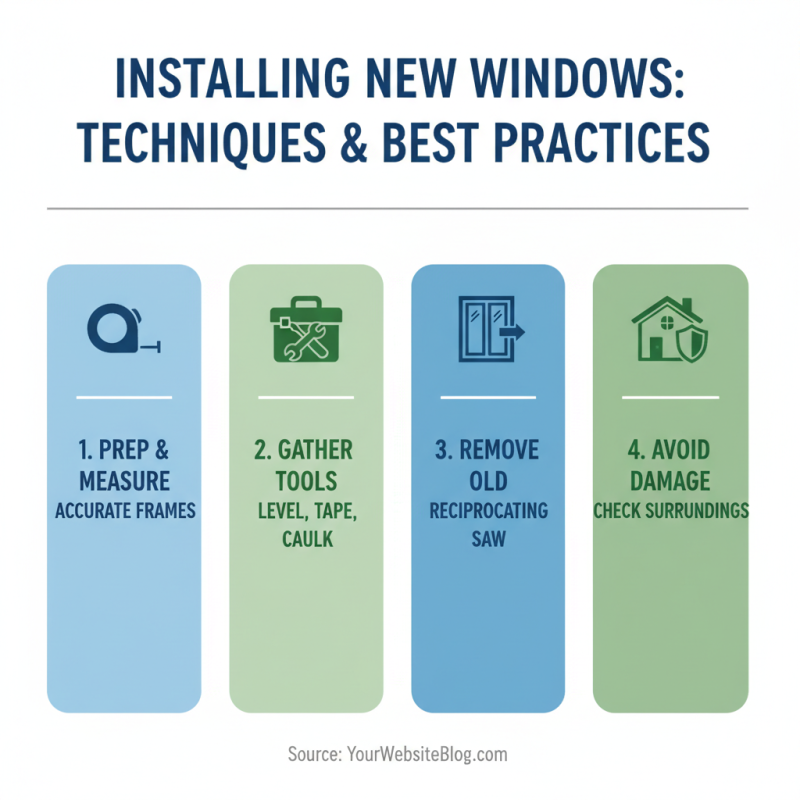
Installing New Windows: Techniques and Best Practices
When installing new windows, preparation is key. Start by measuring your existing window frames accurately. Ensure you have all the necessary tools: a level, tape measure, and caulking gun. Proper measurements prevent issues later on. Use a reciprocating saw to remove old windows safely. Pay attention to the surroundings to avoid damaging your home.
Once the old window is out, check for any structural damage. Repairing these issues is crucial. Clean the frames thoroughly before putting in the new window. This makes for a better seal. To install, place the window into the frame at the right angle. Use shims to ensure it is level. Secure the window with screws, but don’t overtighten. An overly tight fit can warp the frame.
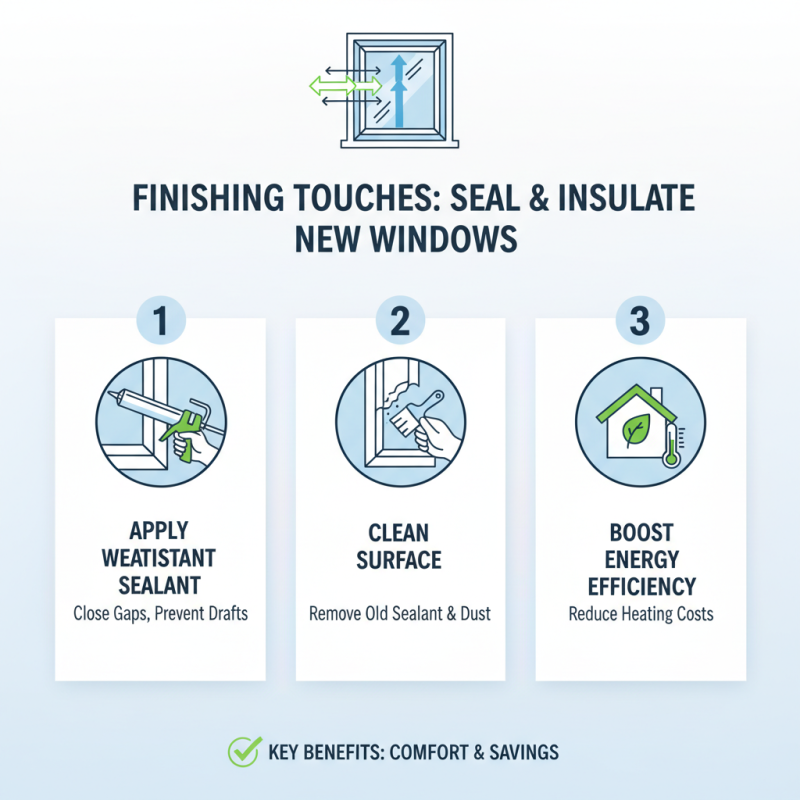
Remember, sealing is vital. Apply weatherproof caulking around the edges for insulation. Test the window to ensure it opens smoothly. If it sticks or doesn’t close right, you may need to adjust your installation. These small details can save you from future headaches. Each step requires focus; rushing could lead to mistakes. Installation isn’t just about placement—it’s about precision.